
With BIM 360 Design you can leverage teams to set up different types of collaboration depending on how you interact with different members of the project team. In this post we’ll explore how you might set up a team for your company vs a team for an external consultant. You can watch the video below to see it done for you (and gain a little extra insight) or you can skip right to the step-by-step below the video.
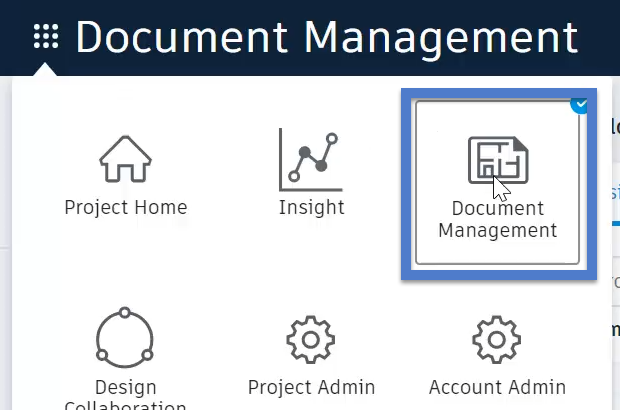
1. Access the Document Management screen.
2. Create a folder within Project Files to represent each team in your project. In the example in the video, I created an intermediate Teams folder to store the individual teams within.

3. Switch to Project Admin.

4. Click Design Collaboration, then click Add Team.

5. then click the word here at the bottom right corner. This is to create a team based on a folder you’ve already created.

6. Browse to and select the team folder you created earlier.

7. Repeat steps 4-6 for each team folder you’ve created.
8. Check the box next to one of the teams, the click Manage Team Members.

9. Begin to type a name, email address, role, or company name in the bar at the top. The choice you’re looking for should pop up in a list where you can select it.

10. Choose a permission level for the choice you’ve selected, then click Add.

11. Repeat steps 9 and 10 for as many team members as you’d like to add.
12. Repeat steps 8-11 for each team that you’ve created, choosing the appropriate members and permission levels for each.

Pingback: BIM 360 Design – Day One | BIM 360 Basics